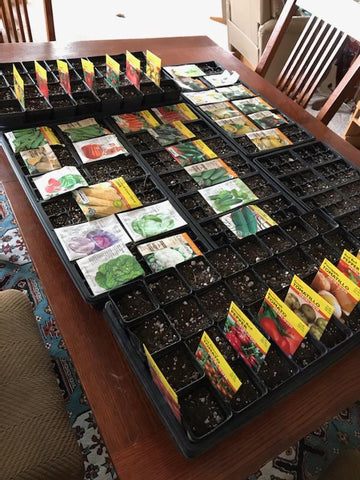
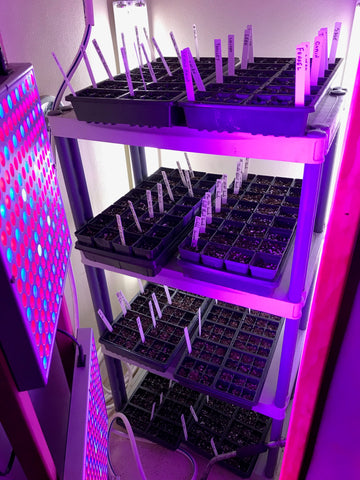
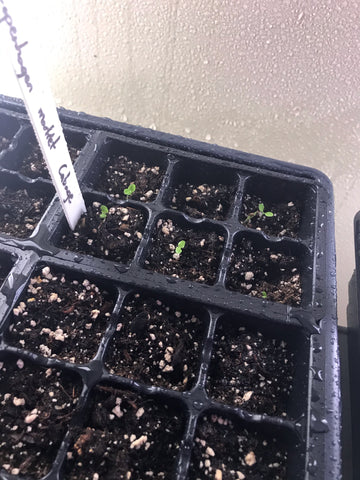
Hey everybody! One of the most gratifying things we’ve been able to tackle while working from home is our garden. Every year we plant flowers and vegetables and the whole team pitches in throughout the year to help plant or weed. We’ve readied the soil, made the hoops, set up the irrigation, and we’ve started seeds. One of the projects we took on this year was converting a shower into an indoor greenhouse. It’s been a lot of work and a lot of fun. We’ve already seen some sprouting and we’re looking forward to getting them in the ground when they’re ready.

With that in mind, we thought it was a great time to discuss starting seeds indoors for anyone who hasn’t done much gardening before. This is a fun activity the whole family can share. Our kids just love it when the seeds begin to sprout. It’s educational, active, and, because the seedlings need semi-regular attention, it can help fill time in your daily routine.
If you don’t have seeds you can probably still order some online. The packets are easy enough to sanitize once they get to you. A little extra hunting for a good seed source will go a long way. Higher quality seeds will offer you the best chance at success. Finding regional sources will also help, since the seeds they offer will likely be acclimated to your area.
Not all plants can be started indoors. Make sure to read up on each seed to make sure you’re getting the right things. Lettuces, tomatoes, and peppers can all be started inside, as well as broccoli, brussel sprouts, and cauliflower. With a simple grow light set up you can add to that list.

You’re going to want to make a plan and label things. It may seem obvious, but we’ve started plenty of seed only to lose track of what was planted where because things got moved or the popsicle stick mysteriously ran away. You’re going to need some soil and some container to put the seeds in that has the right amount of depth and good drainage. Egg cartons can work in a pinch. As far as soil is concerned, the more nutrient rich it can be the better, and you’ll want to steer clear of mixes with too many unnecessary chemicals. Not all dirt is created equal.
From there things are fairly simple. Here are our recommended steps:
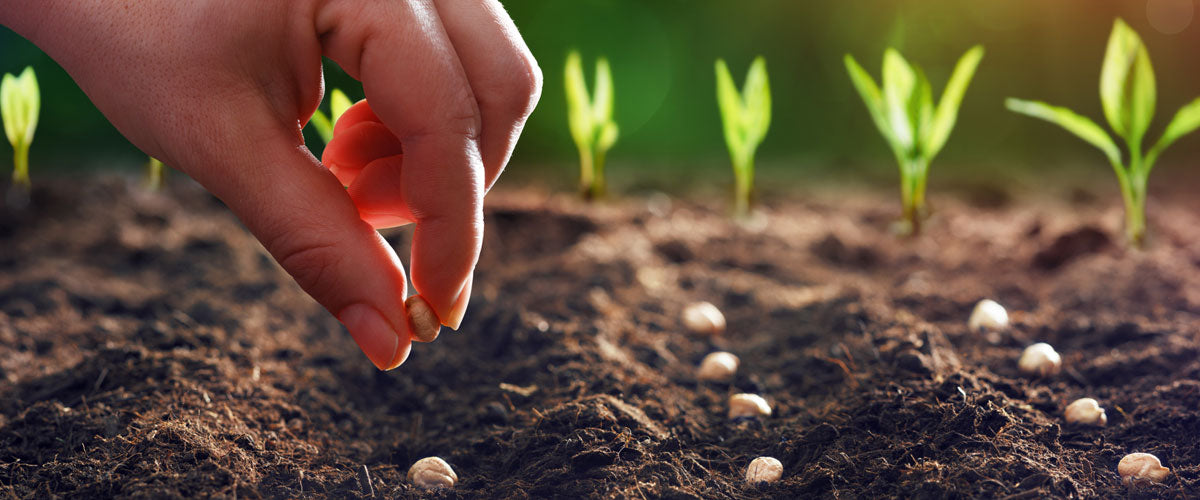
- Plant seeds at the proper depth. Check the seed pack for that info.
- Set the containers in a warm place. They don’t need sunlight while they germinate, but they do need a little warmth.
- Keep the soil moist--not wet and not dry. Think of a damp sponge. You can cover them with something clear to help them retain moisture.
- Once the plants begin to sprout, give them light. You’ll want to move them to a south-facing window or add grow lights at this point. If you have a lot of plants in one tray, don’t forget to rotate it so that each one gets some good sun.

- But they also need to be cool. Too much heat early on is not a good thing--that’s why a south-facing window is better than east or west. You want the light but not the heat. However, some plants, like peppers and tomatoes, benefit from bottom heat. You can get heat mats for this or store them near the stove or on top of the fridge, for instance.
- Fertilize. Obviously we think organic is the best choice. Typically this can wait until around four weeks after you’ve planted seeds. Don’t use too much and we recommend cutting back to half strength once the plants have two or more leaves.
- Move them to pots or bigger containers. Once they have a few leaves they’re ready for more soil. Using a potting mix at this point will help them grow. Once they’ve been transplanted, give them some water and keep them out of sunlight for a few days while they establish themselves in their new environment.
- Once you’re ready to move them outdoors you’ll need to start hardening them off. This means cutting off the fertilizer, putting them in a protected area outdoors for a few hours a day, and bringing them in at night. Usually this starts about a week before you want to plant them in your garden.

That’s our quick and dirty list. Some of the Green Goo Crew have been studying plants and gardening practically their whole lives. So obviously there will always be more to learn. What did we miss? Got any tips to help organic gardens grow more successfully? Let our GooRus know in the comments. Once you have sprouts and then plants we’d love to see them. You can share pictures here or post them on our social media channels for all to see. #SpreadGoodness & Happy Digging!


